


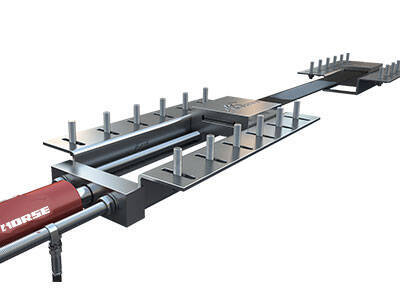

Método de ampliación de sección
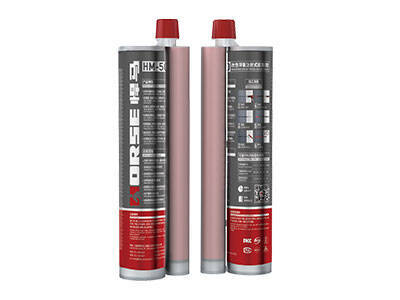
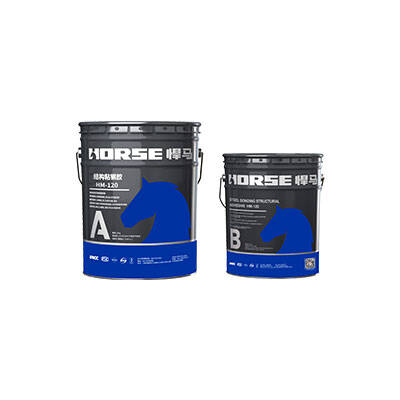
Anclaje postinstalado, adhesivo epoxi inyectable.
Dado que la resistencia del muro de corte (columna) de 5 plantas del edificio n.º 1 no cumple con los estándares, debe reforzarse tras la revisión del diseñador original. Esquema de refuerzo: refuerzo mediante el método de sección creciente (anclaje posterior).
Estudio de ingeniería
Dado que la resistencia del muro de corte (columna) de 5 plantas del edificio n.º 1 no cumple con los estándares, se recomienda reforzarlo tras la revisión del diseñador original. Esquema de refuerzo: refuerzo mediante el método de sección creciente (anclaje posterior).
Plano de construcción del refuerzo
Tratamiento de la interfaz
Utilice un martillo de flor y una máquina de rueda para recubrir la estructura original; si es necesario, cincele hasta que esté compacta.
1. Revestimiento: Se debe utilizar un martillo de piedra puntiagudo de 1,5 kg a 2,5 kg para cincelar las picaduras en la superficie de unión del hormigón, formando una profundidad de punta de aproximadamente 3 mm. Se pueden cincelar 600/~800 puntos uniformemente distribuidos con una profundidad de punta de 4 mm a 5 mm, con una separación de aproximadamente 30 mm y una distribución en forma de ciruela.
2. Muela abrasiva: Se recomienda utilizar una muela abrasiva gruesa con una potencia no inferior a 340 W y perforar líneas transversales perpendiculares al eje del componente, con una profundidad de grano de 3 mm a 4 mm y una separación de aproximadamente 50 mm sobre la superficie de adhesión del hormigón.
3. Ranurado manual: Se recomienda utilizar un cincelado afilado, cincelando la superficie de adhesión del hormigón sólido en dirección perpendicular al eje del elemento, con una profundidad de ranura de aproximadamente 6 mm y una separación de aproximadamente 100 mm a 150 mm entre las ranuras transversales.
Tras el proceso anterior, se eliminan los áridos sueltos, la arena, la grava, la suciedad y el polvo de la superficie de hormigón del componente original con un cepillo de alambre de acero y otras herramientas, y se lava la superficie de hormigón con agua a presión limpia.
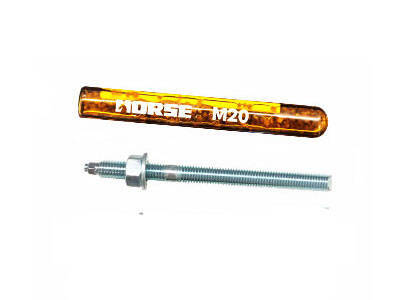
Anclaje químico de varillas de refuerzo
1. Utilice una punzadora especial para perforar los agujeros de manera que la varilla de acero que se va a implantar pueda implantarse normalmente. La profundidad de perforación no debe ser inferior a la requerida por el diseño y las especificaciones.
2. Tras la perforación, se debe eliminar el polvo del orificio y la interfaz con un cepillo y, a continuación, se debe soplar con un soplador para limpiar el orificio y asegurar la adhesión del adhesivo al hormigón.
3. Al inyectar pegamento en los orificios, se debe eliminar el aire. Para ello, la boquilla mezcladora debe insertarse en el fondo del orificio lo más profundo posible. La profundidad de inyección debe ser de 2/3 de la profundidad del orificio y la barra de acero debe extruirse ligeramente.
4. Refuerzo: Es necesario utilizar barras de acero no corrosivas incrustadas en los orificios y, a continuación, girarlas lentamente en los orificios para facilitar la adhesión del pegamento a la pared. El pegamento se inyecta en el espacio entre las barras y los orificios. Se instalan dos filas de andamios en la parte delantera del refuerzo para fijarlo temporalmente. Tras la implantación, el refuerzo debe dejar tiempo suficiente para que el adhesivo se solidifique.
5. Soldadura de la barra de acero: La soldadura de un solo lado es mayor que 10D, la soldadura de doble lado es mayor que 5D. La soldadura es completa y la altura es mayor que 5 mm.
6. Inspección de la barra de acero: Se debe verificar y calificar la materia prima de la barra de acero; la barra de plantación debe ser calificada para la prueba de extracción.
Instalación de nuevo refuerzo
1. Según el plano, se deben agregar nuevas barras de refuerzo, barras y estribos.
2. Al conectar la nueva barra reforzada con la barra reforzada original, se suelda con barras cortas. El diámetro de las barras cortas no debe ser menor de 20 mm, la longitud no debe ser menor de cinco veces el diámetro y la distancia entre ellas no debe ser mayor de 500 mm.
3. Al reforzar el lateral de la sección de tracción, se debe instalar el aro en U. El aro en forma de U se soldará al aro original. La longitud de la soldadura unilateral será diez veces mayor que el diámetro del aro, y la longitud de la soldadura bilateral será cinco veces mayor que el diámetro del aro.
Instalación de la plantilla
1. Primero, localice la línea central y luego la línea lateral.
2. Coloque el molde lateral verticalmente sobre la línea lateral, de acuerdo con su tamaño, y asegúrese de que su verticalidad y elevación sean correctas. Sujételo con tirantes diagonales y clavos de soporte para garantizar la estabilidad y la rigidez de la presión lateral.
3. Después de instalar la plantilla, verifique la línea central y si es correcta. A continuación, verifique el eje, si las dimensiones geométricas y la elevación cumplen con los estándares y, finalmente, retire los residuos.
Vertido de hormigón de piedra fina
1. Antes de verter el hormigón, la plantilla y la interfaz deben estar completamente humedecidas y no debe haber acumulación de agua en el fondo.
2. El tiempo de lechado debe reducirse al máximo. El vertido debe realizarse vibrando para asegurar la compactación del hormigón y evitar defectos como agujeros, fallas, panales y superficies de cáñamo después de la demolición.
Curado
1. El hormigón debe cubrirse inmediatamente con hierba húmeda o manta de lana de roca dentro de los 60 minutos posteriores a la solidificación final y mantenerse húmedo.
3. No se debe vibrar durante 24 a 36 horas después de la aplicación de la lechada para evitar dañar la capa de lechada no consolidada.

